Search This Blog

Showing posts with label easy. Show all posts

Wednesday, November 3, 2010

Vegan Mofo Day 3: Raspberry Chocolate Cups


I have the great fortune of having grandparents who are very aware of the consequences of using herbicides and pesticides. They have beautiful lake front property and a decent portion of the property is dedicated to gardening. They have rows upon rows of organically grown raspberries, and us grandkids are always welcome to take as much as we can pick. Is it greedy to take 6 buckets home at a time? Not if it's only a couple rows worth!

Lance and I use a lot of fresh raspberries in smoothies, peach raspberry pie, cookies, sprouted buckwheat cereal with hemp milk and raspberries, and in sauces to go over crepes, waffles, pancakes, and muffins. We still freeze the majority and usually have enough to last the year. This year's crop was not as good due to the uncharacteristic amount of cold, rainy weather we got from April on. I am trying to pace our raspberry consumption, but it's really hard to hold back! My grandparents have had these plants for well over 30 years - I'm not sure how long they have been cultivating and expanding their raspberry patch, but I know they've been around at least as long as I have. The dogs love them just as much as we do, and it's always funny to see their bums poking out of a bunch of stalks - and in Bogey's case (their 130 pound Bernese Mountain Dog), the poor stalks get mauled and he often turns around to look at us while chewing on half the stalk, leaves and all. He must know they are a great source of vitamin C.

Raspberry Filling
1 cup Raspberries (frozen is fine)
5 pitted Medjool Dates
1/4 cup water
1 TB Chia Seeds

Add the raspberries, dates, and chia seeds into a high speed blender. The chia seeds will help thicken the sauce. If you do not have a high speed blender, blend the chia seeds in a coffee grinder or spice blender before adding them to the blender. The water should be the smallest amount possible - just enough to get the blades to keep turning things over in the blender. Use the tamper tool to help things along. This is more filling than required for the chocolate recipe. I used my leftover filling in smoothies the next morning.

Chocolate
3.5 oz cacao butter
1.5 oz cacao powder
3 oz agave

I melt the cacao butter over the lowest heat possible on my stove top, periodically taking the pan off the burner so the temperature doesn't get too high. If you are trying to obtain a food that is closer to raw, I suppose you could melt the cacao butter in a food dehydrator over several hours at the appropriate heat. I honestly don't have the patience, and the fact that it is questionable how raw cacao is due to fermentation after harvest makes me less anxious about conserving time and energy on my part using the stove top at a very low heat. Once the cacao butter is melted, I take the sauce pan off the heat and combine the rest of the ingredients, stirring often and vigorously so the agave combines properly with the rest of the chocolate. This chocolate recipe is from a previous post, so feel free to double the batch to help use up more of the filling.

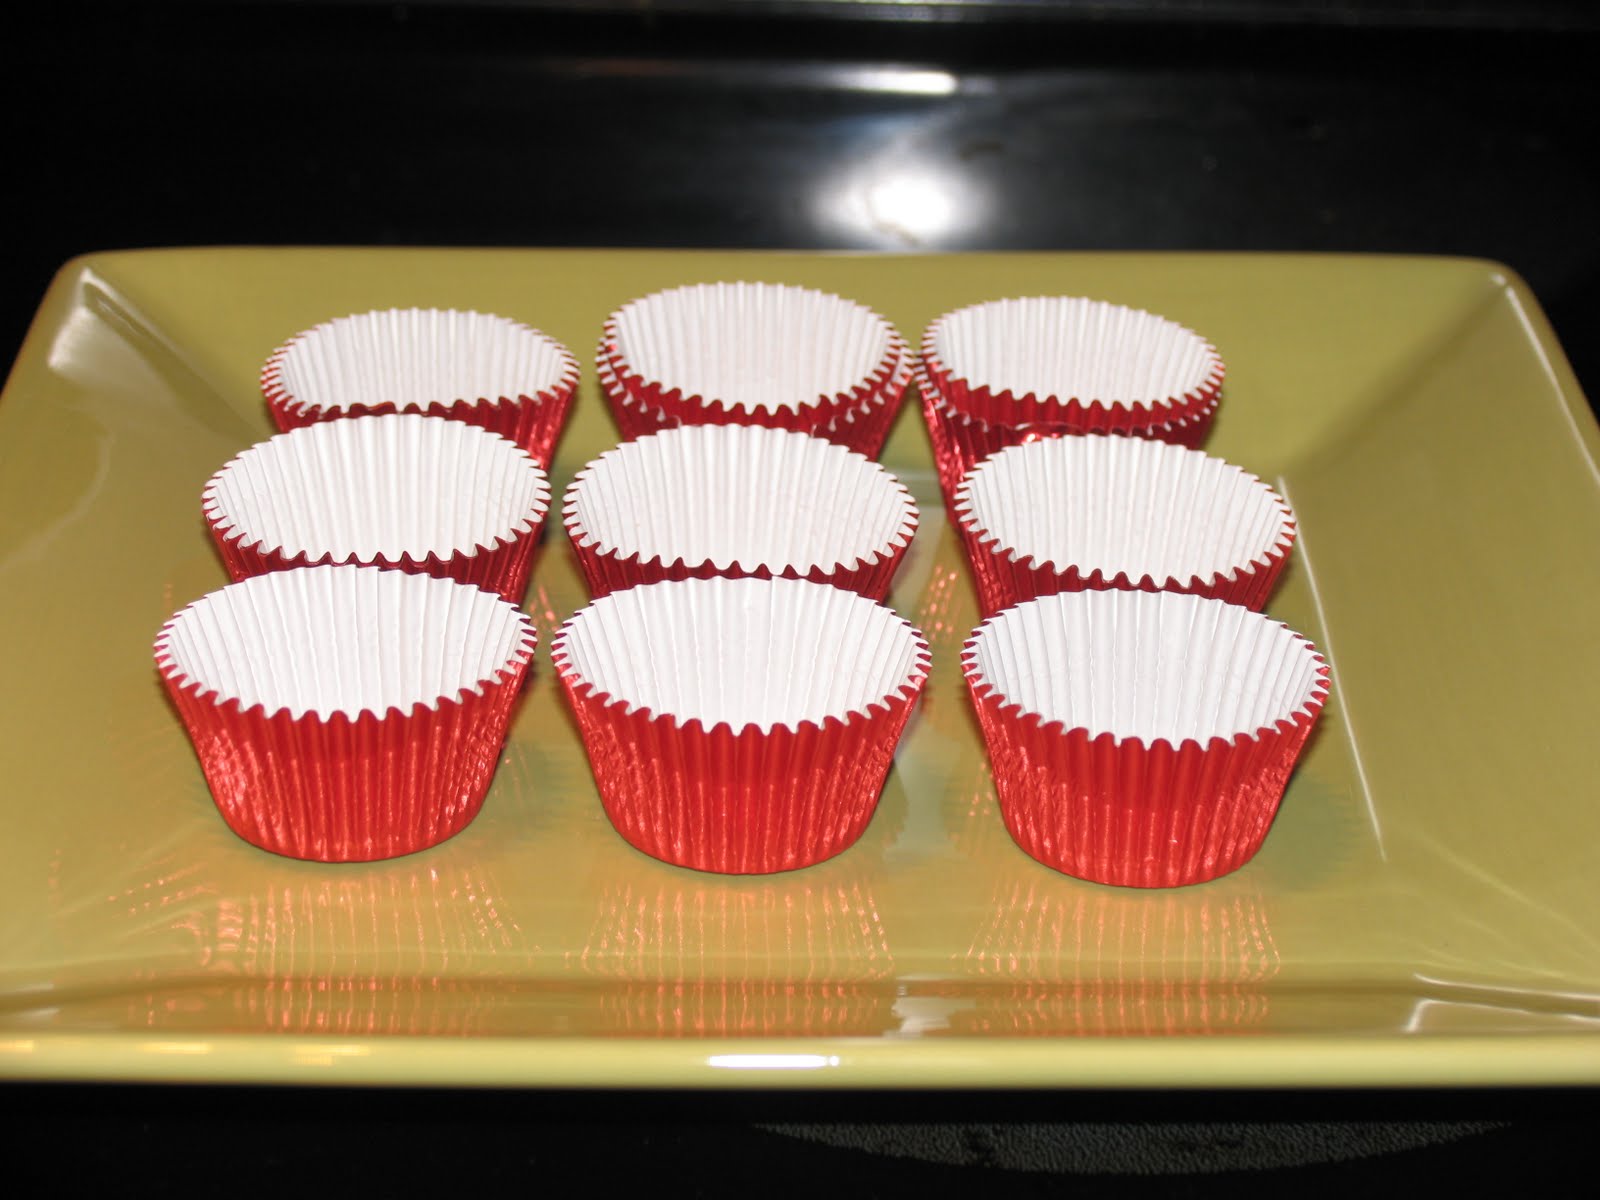
I didn't have chocolate molds, so I just used mini cupcake papers. Spoon about 1 TB of chocolate into the bottom of each cup, or enough to coat about 1/3 of an inch. Add a teaspoon of filling to each cup to form the raspberry center:


Add at least another tablespoon over the top of the filling to create a flat surface on top of the candy.

Put the cups into the fridge to harden. I took a couple cups to work with me the next morning and left them out for several hours without a melting issue. These will melt in warm weather (ever forgotten a chocolate bar in the car? yuck). I recommend storing them in the fridge for less risk of a mess. They are a little messier to eat than highly processed chocolate that has a lot of additives and texture aides, but it's so worth it!

The finished product after chilling.

Wednesday, October 20, 2010

Vegan, Soy-Free Chocolate Peanut Butter Cups


Chocolate is packed full of anti-oxidants and is actually quite the little super food IF you don't have all the processed sugar, milk, and other ingredients that often throw this food into the junk food category. It's really quite a shame. Fortunately, there are plenty of healthy ways to enjoy delicious chocolate.

Lance loves chocolate and peanut butter, so I decided to make this with real peanut butter (ingredient = peanuts only). To make a raw version of this treat, use raw almond butter or another raw nut butter instead. You know you have good peanut butter when the oils separate. This means many of the preservatives and stabilizers haven't been added to the peanut butter and it's just gooey goodness.

This recipe calls for cacao products - not premade chocolate. Cacao is the unprocessed precursor to chocolate in its original state. Some people argue that cacao is not raw because it exceeds 115 degrees and ferments after harvest, but there are enough benefits from indulging from time to time that I still kept it in my diet when I was extremely high raw vegan.

Chocolate Peanut Butter Cups
makes about 16 cups that are 1.5 inches in diameter and about 1/2 an inch high
3.5 oz cacao butter
1.5 oz cacao powder
3 oz agave
several 1/2 tsp of peanut butter
Tiny cupcake or foil cups to hold the chocolate

I used a small sauce pan and slowly melted the cacao butter over the lowest heat possible. If you are trying to make this as raw as possible, you can put the cacao butter in a food dehydrator over several hours to slowly melt the "butter" or you can use a thermometer. I frankly don't have that much patience.

Once the cacao butter is melted, add the agave and cacao powder and stir very well. Use a teaspoon to spoon chocolate into the bottom of the foil cups. You want it to be about 1/3 of an inch or more thick on the bottom.

Stir between chocolate cups so the agave doesn't settle on the bottom. Then add a small amount of nut butter into each cup. Then spoon enough chocolate to cover the nut butter.

Let chill to set in the fridge for at least 30 minutes.

Tuesday, October 19, 2010

Fresh Tomato Sauce (and why to avoid canned)

There are a lot of reasons to avoid canned tomatoes, but if you want only one, let it be the bisphenol-A that is in the resin that lines the cans. Bisephenol-A (BPA) is a synthetic estrogen that is linked to many health problems. Because tomatoes are acidic, they leach the BPAs from the lining and it enters our food. Canned tomatoes can also contain citric acid (from corn!) and high sodium. Making your own is extra work, but if you have a little spare time on the weekend and a lot of tomatoes, you can make a batch for use throughout the week.

I don't have a formal or even informal background in Italian cuisine (I'm on the West Coast, if that tells you anything), so this is just some information on how I make my sauce. This is not marinara, or a final product even. This is a sauce I add to other recipes (like marinara, vegan jambalaya, curry etc.). The flavors are pretty mild to ensure I can mix and match across different cuisines.

8 cluster/vine tomatoes translates to about 2 1/2 cups of sauce, so keep that in mind when purchasing your tomatoes.

Peeling Tomatoes

Peeling tomatoes is quick and easy. It only takes about 30 seconds. First, put a pot of water on to boil. Once it get to a rolling boil, take a tomato and remove any green/leaves and score the tomatoes on the bottom and make a little "X":


Carefully lower the tomato in the boiling water and leave there for 20 seconds. The skin should start to visibly split up the sides:
Remove the tomato with a wide, slotted spoon:
Simply tug at the skin to easily peel by hand:

Making the Sauce

After the tomatoes are peeled, get a pre-heated 3 quart sauce pan and put a little olive oil on the bottom - just enough to prevent the tomatoes from sticking. Remove the hard area around the stem, and rough chop the tomatoes. Add 1 tsp of dry basil and a pinch of salt.


Stirring occasionally (I walked away and did a little blogging between stirs), let the tomatoes cook down until there is a thick consistency (about 45 minutes).


Tomato Sauce
yeilds appx 2.5 cups
8 tomatoes, peeled, trimmed, and rough chopped
1 pinch kosher salt
1 tsp dry basil
3 tsp olive oil

Use the olive oil just to barely coat the bottom of a 6-7 quart heated pan over medium heat. Add the other ingredients and cook, stirring occasionally for 45-60 minutes.